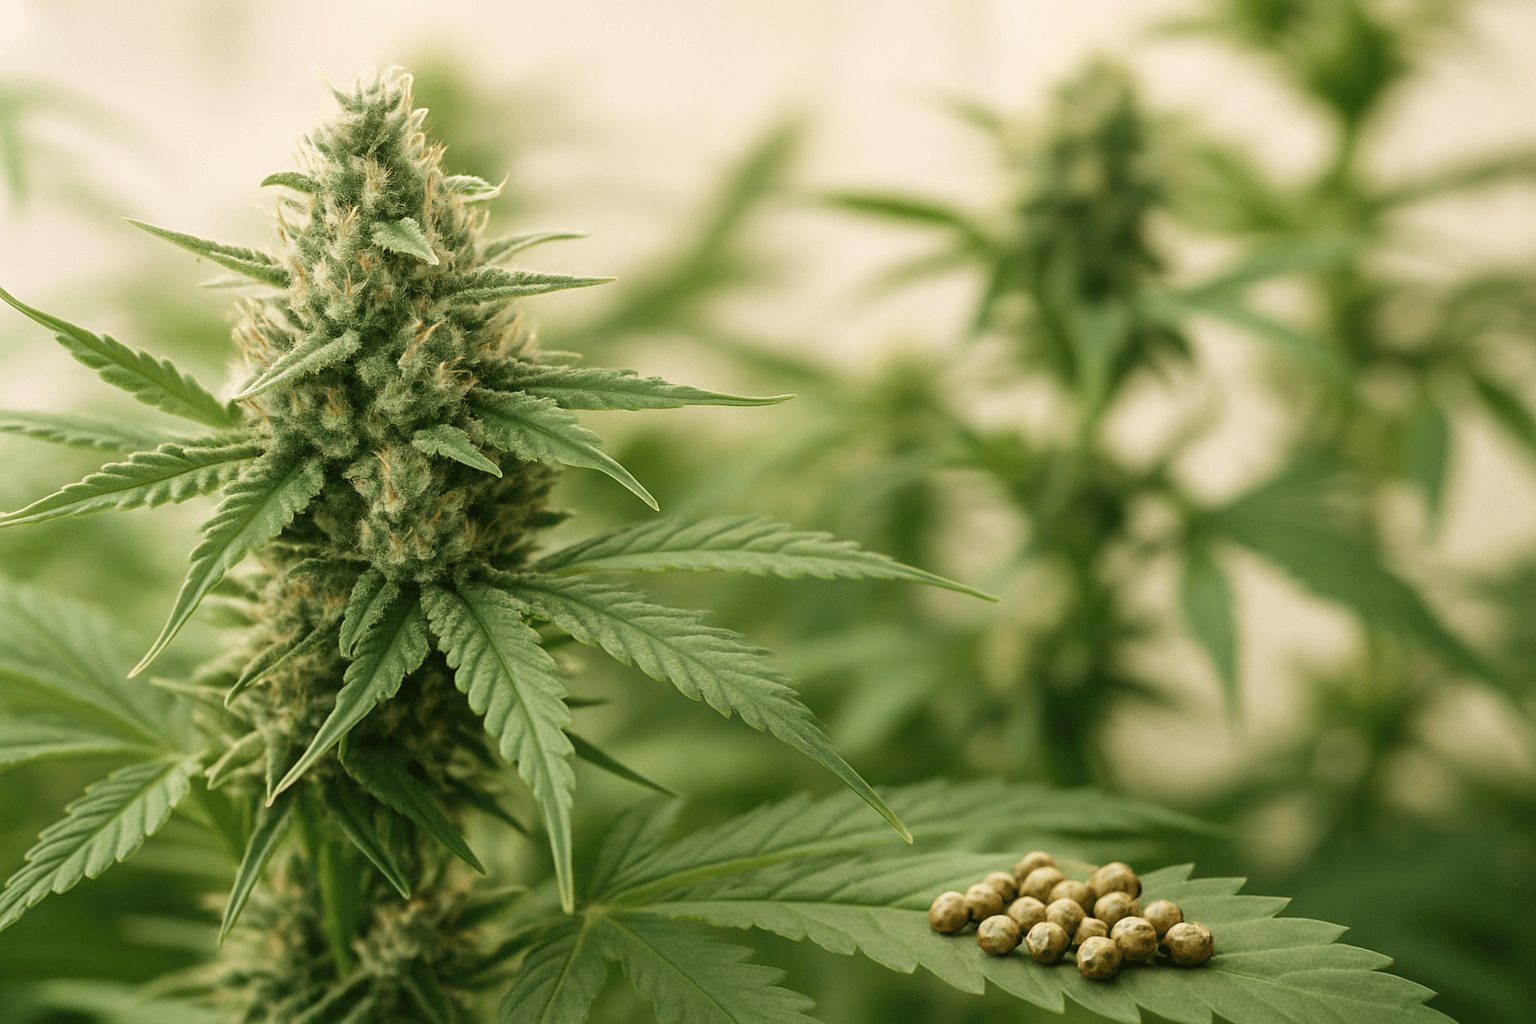
What is really meant by fermenting cannabis
In everyday grower language, “fermenting cannabis” almost always refers to what is internationally known as curing: the controlled post-ripening of already dried flowers in a sealed container. Biologically, this is not a classic fermentation like sauerkraut or kombucha. The goal is not to let microorganisms actively do the work, but to distribute residual moisture evenly, promote chlorophyll breakdown, stabilize volatile compounds, and allow the flower to mature sensorially.
In our experience, this point is especially important because many beginners misunderstand the term and intentionally store their buds too moist. That is one of the most common mistakes overall. Excessive moisture does not lead to “better fermentation,” but to mold, musty odors, and in the worst case, an unusable harvest. Good post-ripening is controlled, slow, and clean. Bad post-ripening is damp, warm, and low in air exchange.
Is curing worth it? Absolutely yes. Even a well-grown plant loses significant quality if it is processed too quickly, too hot, or without post-ripening after harvest. On the other hand, clean drying and fermenting can save a lot: the smoke becomes smoother, the aromas become more defined, and the effect often feels more balanced. Especially with terpene-rich cultivars, the difference is clearly noticeable after two to six weeks.
Anyone who has mastered the basics of drying and harvesting cleanly will have far fewer problems during fermentation. That is why it is also worth taking a look at harvesting cannabis and understanding cannabis odor, because both directly influence how well the flowers later mature in the jar. Even small mistakes in trimming, air circulation, or post-treatment determine whether a good harvest becomes a truly high-quality final product.
Why curing improves aroma, burn quality, and effects
Freshly dried flowers often already look good, but sensorially they are not yet “finished.” Right after drying, many buds still smell grassy, hay-like, or flat. This is due in part to plant residue, chlorophyll that has not yet fully broken down, and unevenly distributed residual moisture inside the flower. The outside may seem dry, while the inside often still holds more moisture. During curing, this residual moisture slowly moves outward and equalizes.
In our experience, this changes not only the smell but also the burn behavior. Buds that have matured cleanly burn more evenly, scratch the throat less, and leave lighter ash than material that was bagged too quickly or smoked too early. This is not a myth, but a consequence of water content, plant matter breakdown, and the stabilization of volatile aromatic compounds. Anyone who has tried the same cultivar directly after drying and then again after four weeks of curing usually notices the difference immediately.
The effects are also often described as “rounder.” That does not mean the THC content suddenly rises sharply. Rather, the overall experience changes through a better-preserved terpene profile and a more pleasant consumption experience. If you are particularly interested in odor and aroma, it is also worth looking at cannabis flavonoids as well as the article on cannabis odor, because post-harvest quality is always the interplay of several groups of compounds.
Another point many people underestimate: curing is also a form of quality control. During post-ripening, hidden problems often become more obvious than they are directly after harvest. If a jar suddenly smells musty, if condensation forms, or if the flowers remain soft inside, that is a warning sign. That is exactly why experienced growers never work blindly, but regularly check moisture, smell, and structure. Anyone who works cleanly here saves themselves frustration and material loss later.
The prerequisite for good fermentation: dry correctly
Before flowers go into the jar, they must be properly dried. This is the stage where most problems arise. If drying happens too quickly, the buds become brittle on the outside and stay moist on the inside. If it happens too slowly and at excessively high humidity, the risk of Botrytis and other mold issues rises dramatically. In our practical experience, ideal drying is slow, at around 15 to 20 °C and 55 to 60 % relative humidity over 7 to 14 days. Very dense outdoor flowers sometimes need longer.
A good maturity level before curing can be checked not only with numbers, but also mechanically. Small stems should snap when bent rather than just bend softly. The flowers themselves should feel dry, but not dusty. If the outside rustles and the inside still feels spongy, they are usually still too moist for storage. Anyone who jars too early creates a perfect climate for microbial problems.
Clean work is especially important even before this step. Wet plant residue, damaged flowers, and hidden mold spots must be sorted out consistently. If you are unsure, you should review the basics of cannabis harvest and, for dense, late-harvested buds, also the topic of Botrytis in cannabis. Curing makes good flowers better, but it does not save material that is already contaminated.
The plant’s preparation beforehand also plays a role. Anyone who over-fertilizes during flowering or stresses the plants unnecessarily at the end often ends up with a harsher, less refined final product. That is why topics such as fertilizing cannabis and the cannabis flowering phase are directly linked to later fermentation quality. A clean harvest does not begin in the jar, but weeks earlier in the grow room.
The ideal residual moisture: what experienced growers watch for
In practice, the target range for the storage and ripening phase is usually 58 to 62 % relative humidity in the container. This is the range in which flowers neither dry out nor become critically moist. Over the years, we have found that 60 to 62 % often seems slightly more aromatic, while 58 to 60 % can feel better for longer storage and greater safety against mold. We prefer to store very dense Indica buds slightly drier than airy Sativa flowers.
What matters is this: these values apply to the container after the residual moisture has equalized, not directly one hour after filling. Freshly jarred material may initially measure lower or higher and only settle after 12 to 24 hours. For that reason, small digital hygrometers in every jar are, in our view, not a luxury but standard equipment. They remove much of the guesswork from the process.
If the humidity in the jar is above 65 % after one day, the buds are generally still too moist. In that case, the material should be taken out immediately and dried further for a few hours to a full day. If the humidity remains permanently below 55 %, curing is not ruined, but many aromas break down faster and the flowers become more crumbly. That can only be corrected to a limited extent. That is why the right moment between drying and storage is crucial.
A practical tip from experience: work with several small jars rather than one large bulk container. That way, you can keep batches with slightly different drying levels separate. Especially with mixed harvests or plants from different parts of the garden, this is a real advantage. If you grow outdoors, the article growing cannabis in the garden offers useful insights into why outdoor flowers often ripen more unevenly than indoor material.
Containers, temperature, and light: the right setup for curing
Airtight glass containers with a wide opening work best. Mason jars or clamp jars are proven options as long as they are clean, odor-free, and truly seal tightly. Plastic can work, but depending on quality it may absorb odors or impart its own notes. For small quantities, glass is clearly the best choice. For larger quantities, some growers use food-grade stainless steel containers, but moisture should still be monitored there as well.
The jars should not be packed all the way to the top. We recommend a fill level of around 70 to 80 % so that some air volume remains and the buds are not compressed when moved. Jars packed too tightly encourage moisture pockets, especially with large, compact flowers. In terms of temperature, a cool, dark storage location is ideal, usually between 15 and 21 °C. Higher temperatures accelerate the breakdown of sensitive terpenes and cannabinoids.
Light is an often underestimated quality killer. UV and general light exposure degrade active compounds and can visibly worsen aroma. That is why we always store curing jars in the dark, never on windowsills or warm kitchen shelves. Anyone fermenting in a hot attic apartment should pay especially close attention to temperature spikes. Just several days at 25 to 28 °C can noticeably reduce quality in very terpene-rich cultivars.
The ambient air in the room also plays a role. If the storage room itself is very humid, opening the jars can become problematic because the buds may absorb unnecessary moisture during burping. In such cases, a dry, stable room is far better than a basement with a fluctuating climate. Anyone who has their entire environment under control will face far fewer surprises during fermentation.
How fermentation works step by step
After drying, the flowers go into the prepared jars together with a small hygrometer. During the first 24 hours, not much is done other than monitoring. If the relative humidity in the jar rises above 65 %, the buds need to come back out. If it stays within the target range, the actual post-ripening begins. In the first week, we open the jars once or twice a day for 5 to 15 minutes. This “burping” serves to release excess moisture and stale air.
In the second week, once a day or every two days is usually enough, depending on how stable the humidity remains. From the third week onward, brief checks every few days are often sufficient. Anyone taking the process seriously should consciously smell the jar each time it is opened. A clean progression develops from hay-like or green toward cultivar-typical, sweet, spicy, fruity, or gassy. Anything that smells musty, ammonia-like, or moldy is a warning sign. In that case, remove the material immediately, inspect it, and if in doubt, discard it without compromise.
A practical rule of thumb: many flowers are significantly better after 2 to 4 weeks than they are directly after drying. Truly complex cultivars, however, often continue improving through week 6 or 8. Especially with slowly ripened, resin-rich plants from a well-managed flowering phase, patience pays off. Anyone who consumes too early gives away part of the potential that lies in the final stretch of production.
If you work with clones, a uniform plant structure is especially helpful because the harvest turns out more homogeneous and is easier to ferment evenly. Relevant here are the articles buy premium cannabis clones in Germany and successfully growing cannabis clones. Uniform plants mean more uniform flowers, and uniform flowers can be cured much more cleanly.
Guideline values for the ripening phase
| Phase | Target value / period | What to watch for |
|---|---|---|
| Drying | 7–14 days at 15–20 °C, 55–60 % RH | Dry on the outside, not wet inside; small stems snap |
| Start in the jar | First 24 hours | Watch the hygrometer; if above 65 % RH, dry further |
| Week 1 | Open 1–2x daily for 5–15 minutes | Check smell, moisture, condensation, and hotspots |
| Week 2 | Open briefly every 1–2 days | Aim for a stable 58–62 % RH |
| Week 3–6 | Check every few days | Aroma becomes fuller, smoke smoother, moisture stays constant |
| Storage | Cool, dark, 58–62 % RH | As little light, heat, and unnecessary opening as possible |
Common mistakes during fermentation and how to avoid them
The biggest mistake is storing the material too moist. Many growers judge only by the dry outer surface of the buds. Inside, however, there is often still enough water to quickly push the jar into a critical range. That is why you should always wait 12 to 24 hours before making your first decision. A second common mistake is lack of monitoring. Without a hygrometer and without smell checks, curing becomes a gamble.
Opening too often or for too long is also problematic. Especially in dry homes, buds then lose too much moisture quickly, and the aroma becomes flatter. The goal is not constant airing, but controlled air exchange. Another classic mistake is mixing batches with different dryness levels in the same jar. That almost always leads to uneven ripening. We therefore separate by plant, harvest day, and drying level.
Earlier cultivation mistakes also show up later during curing. Over-fertilized plants often taste harsher despite clean post-ripening, and stressed plants develop their aroma less effectively. Anyone who wants to carry quality through to the end should already work cleanly with water and nutrient management. Relevant here are the articles watering cannabis correctly and fertilizing cannabis. Fermenting is not an isolated step, but the final link in a long quality chain.
Another mistake is impatience. Many people open the jar after three days, still smell something grassy, and think the material is “bad.” In reality, that is often completely normal. The smell does not develop linearly, but in waves. First comes stabilization, then refinement. Anyone who judges too early cuts the process short before it has had the time it needs.
Differences between cultivars, growing methods, and harvest conditions
Not every flower behaves the same way in the jar. Dense, hard indoor buds with lots of resin and tight flower structure retain moisture inside longer than airy outdoor flowers. Especially with compact Kush-, Cookies-, or Afghan-leaning cultivars, we are more conservative and prefer to start slightly drier. Haze-leaning, looser flowers often equalize faster, but also lose their volatile top notes more quickly if stored too dry.
Outdoor harvests bring additional variables. If plants were exposed to high humidity, dew, or temperature fluctuations in autumn, the mold risk remains higher even after harvest. In such cases, we inspect every flower much more strictly and prefer to avoid overly long curing experiments. Anyone growing outdoors will find many fundamentals in the article growing cannabis in the garden that later have a direct impact on post-ripening quality.
Genetics also play a role. Some cultivars only open up their full aroma profile after several weeks, while others are already very close to their peak after two weeks. CBD-rich flowers often become somewhat milder and more herbal, while THC-rich dessert or gas terpene profiles gain more depth. In our experience, it is worth taking notes for every cultivar: harvest day, drying duration, starting moisture, jar readings, and sensory development. With each run, this creates a better personal protocol.
If you work long-term with the same genetics, the quality of the starting material is also crucial. Healthy, stable plants and clean clones usually deliver more consistent results. That is why topics such as keeping cannabis mother plants and HLV-free clones are indirectly relevant to fermentation as well: the cleaner the starting point, the more reliable the post-ripening.
How long should cannabis ferment?
For everyday use, a minimum of 2 weeks makes sense if drying was done cleanly. Truly good results, however, are usually seen from 3 to 6 weeks onward. Some connoisseur batches even benefit from 8 to 12 weeks, provided humidity and temperature remain stable and the buds were healthy from the start. Longer is not automatically better. At some point, even the freshest terpenes still degrade, especially if the jars are opened frequently.
The right timing depends on what you want. If the main goal is a more pleasant smoking experience, a shorter curing period is often enough. If you are looking for the best possible aroma, you should plan for more patience. We have often seen batches that still seemed a little green in week 2 and suddenly smelled far more defined in week 5. Fruity or creamy profiles in particular sometimes simply need time to separate themselves from the hay-like green background noise.
For long-term storage, the rule is: open as rarely as possible, store cool and dark, and only put away truly stable batches. Anyone who regularly takes material from the supply jar is better off working with smaller portion jars. That way, the main batch remains protected. With very high-value flowers, this can make more difference than many people think.
Anyone who also works on harvest quality often benefits from a better starting structure. This includes clean trimming, the right harvest timing, and good plant preparation during flowering. If you want to dive deeper into this chain, defoliating cannabis and pruning cannabis are also helpful, because they improve air circulation in the canopy and thereby indirectly make later drying and post-ripening easier.
Can overly dry cannabis be saved?
Partially, but not completely. If buds have become too dry and remain permanently below about 55 % relative humidity, they can be made more pliable again with humidity control. What cannot be fully restored, however, are volatile terpenes that have already been lost. The smell may recover somewhat, but it will not return to the condition of a perfectly handled batch.
We advise against using home remedies such as orange peels, lettuce leaves, or damp paper. While these may raise humidity in the short term, they also introduce unwanted microorganisms, foreign odors, and strong fluctuations into the jar. Controlled humidity solutions for the target range of 58 to 62 % are much safer. Even then, the rule is: equalize slowly and continue observing the buds.
If, on the other hand, material was stored too moist and already smells musty, caution is more important than thrift. Visible mold, or even suspected mold, should not be consumed. This applies especially to people with respiratory issues or weakened immune systems. There is no clever post-treatment that reliably removes a hygienic risk.
In practice, we often see that overly dry material not only loses aroma, but also suffers mechanically: trichomes break off more easily, the buds fall apart faster, and the surface looks duller. That is exactly why a clean moisture range from the beginning is worthwhile. Anyone who has their storage under control preserves not only flavor, but also structure and appearance.
How to recognize successfully fermented cannabis
Well-ripened flowers feel springy, not wet and not dust-dry. They are slightly sticky without feeling moist and retain their structure when handled. In the grinder, they break down evenly instead of crumbling into powder or pulling into strings. The smell is clearer, deeper, and more cultivar-typical than it was directly after drying. Hay or grassy notes fade into the background.
When consumed, the quality becomes especially obvious. The smoke is smoother, the burn more even, and the flavor remains stable even after the first few draws. In our experience, this is often the moment when growers understand how much potential can still be lost between harvest and jar. Good genetics and good cultivation practices are important, but the final weeks determine whether the end product is merely okay or truly high quality.
If you are still at the beginning and want to improve your entire process chain, you will find more fundamentals in the Grow Guide. Because clean fermentation does not begin in the jar, but with healthy plants, the right harvest timing, and a controlled drying room.
If you want to improve your results systematically, it is also worth looking at the entire chain from seed or clone to storage. Good starting genetics, stable plants, and clean handling of climate and water make fermentation much easier. That is exactly why product and guide pages such as THC clones or THC seeds are a sensible starting point for many growers who want to improve their quality over the long term.
Sources
- United Nations Office on Drugs and Crime – “Recommended methods for the identification and analysis of cannabis and cannabis products”, 2009
- Clarke, Robert C. & Merlin, Mark D. – “Cannabis: Evolution and Ethnobotany”, 2013
- Potter, David J. – “The Propagation, Characterisation and Optimisation of Cannabis sativa L. as a Phytopharmaceutical”, 2009
- McPartland, John M. – “Cannabis Botany and Biotechnology”, 2018

About the Author – Hannah
Hannah focuses on researching, contextualizing, and observing current developments in plant care and modern cultivation techniques. Her focus lies on new methods, optimizing growth conditions, and making complex topics accessible. Her content complements practical experience with analysis, updates, and a keen eye on emerging trends.
Content is regularly reviewed and updated.
This article was created with AI support and editorially reviewed.
More about the team behind LeafConnect