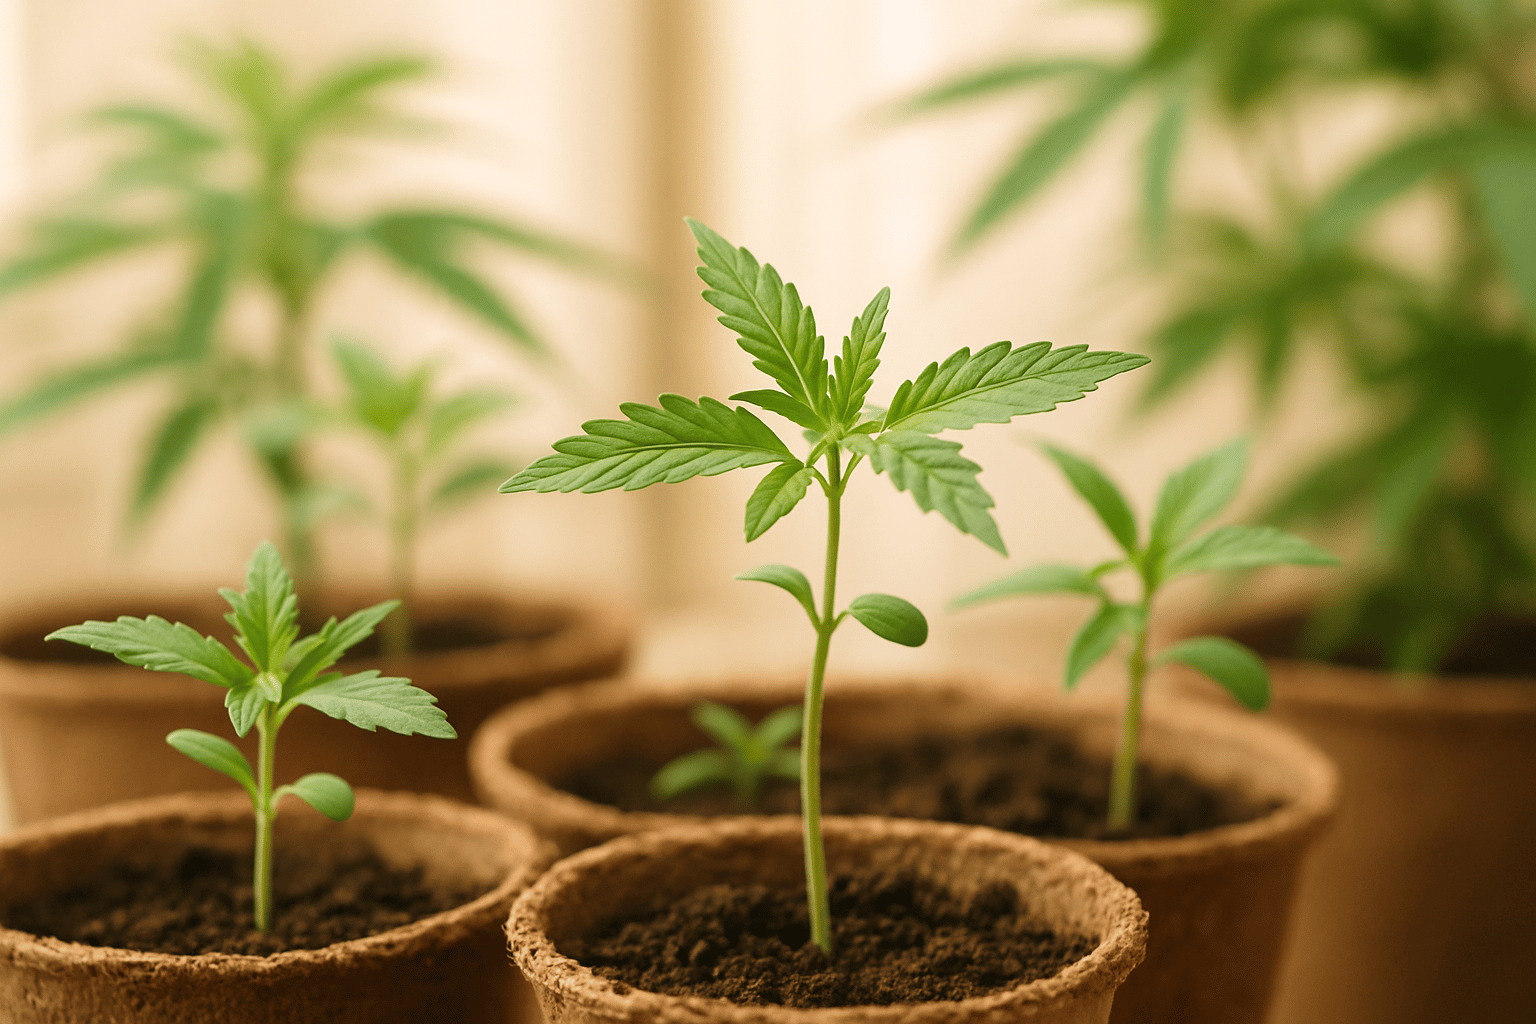
Why Cannabis Seedlings Are So Crucial
Cannabis seedlings may look inconspicuous, but many later problems are set in motion during this early stage. A seedling has only very small energy reserves from the seed, a delicate root system that is barely branched, and only limited buffers against stress. If temperature, humidity, water balance, or light are not right during the first 10 to 14 days, the consequences often do not become visible until weeks later: slow growth, weak internodes, poor root development, or increased susceptibility to deficiencies and disease.
In our experience, the seedling stage is not a time for overreaction. Many beginners mean well and almost always kill their plants with a combination of too much water, overly intense light, and unnecessary fertilizer. A healthy cannabis seedling does not grow explosively, but in a controlled and compact way. If the first true leaf pairs form cleanly, the stem remains stable, and the plant gains visible but not frantic growth each day, you are on the right track.
If you want to better understand the entire grow cycle, you will find a good overview in the guide to the cannabis growth stages. For seedlings, however, the rule is simple: the cleaner the start, the easier everything else becomes later on—from transplanting to flowering.
What a Healthy Seedling Really Needs
A cannabis seedling does not need complicated special treatment, but stable environmental conditions. The key factors are temperature, humidity, oxygen in the root zone, moderate light, and a loose, not overloaded medium. Ideally, daytime temperatures should be around 23 to 26 °C, and nighttime temperatures should not drop below 20 °C. Relative humidity can be 65 to 75 % during the first few days because the young seedling still responds more strongly to air humidity through the leaf surface while root mass remains small.
Root-zone temperature is just as important. Cold substrate slows seedlings down far more than many growers realize. Even if the room air is 24 °C, a pot sitting on a cold floor can lead to slower root formation. We have often seen identical genetics under identical light become stronger and more compact after just a few days solely because of a warmer root zone. That is because water and nutrient uptake are significantly more sluggish in cold media.
The second basic principle is this: seedlings need oxygen at the roots. That is why an airy substrate is more important than a “rich” substrate. Heavily pre-fertilized soil, constantly wet Jiffys, or compacted starter pots quickly cause stress. If you are still unsure about media selection, it is worth comparing the best substrates for cannabis, because seedlings respond very differently to different media.
Germination: A Safe Start Without Unnecessary Losses
Several methods work for germination, but not all of them are equally forgiving. In our practice, three approaches are especially common: directly in lightly moistened seed-starting soil, in Jiffys, or in moistened paper towels or kitchen towels followed by planting. For beginners, direct germination in a small propagation medium is often the safest option because the delicate taproot no longer has to be handled.
Germination temperature should be kept as constant as possible at 24 to 26 °C. Below 20 °C, germination time increases significantly, and above around 28 °C, the risk of rot or weak seedlings rises. The medium should be evenly moist, but never wet. A common mistake is placing seeds in soaking material. Seeds need water and warmth to germinate, but they also need oxygen. If the medium is completely waterlogged, that oxygen is exactly what is missing.
Most vigorous seeds open within 24 to 72 hours, while some need 4 to 7 days. If nothing happens after a week, you should not keep checking and digging up the seed. This kind of “inspection” often damages the taproot. It is better to keep the climate stable and intervene only if there are clear problems. As soon as the seedling breaks through the surface, the light phase begins immediately—at that point, moisture alone is no longer the deciding factor, but a properly balanced environment.
Light for Cannabis Seedlings: Enough Energy, but No Brutal Push
Hardly any area is misjudged as often as lighting during the first few days. Seedlings need light, but they do not need the maximum. Light that is too weak leads to stretching: long, thin stems, large gaps between leaf nodes, and an unstable young plant. Light that is too strong, on the other hand, causes stress, raised leaf edges, slowed growth, and sometimes even bleaching.
With modern LEDs, we usually get good results with seedlings at around 100 to 250 µmol/m²/s PPFD, depending on the cultivar and environment. The distance to the lamp depends heavily on the model, but is often somewhere between 35 and 70 cm. If you do not have a meter, you should read the plant itself: if the seedlings are clearly stretching, the light is usually too weak or too far away. If the leaves stay very small, look rigid, or curl upward, the intensity is often too high. You can find more details on the technical side in our article on cannabis lighting.
For photoperiod plants, lighting during the seedling stage usually runs at 18/6 or 20/4. Both work. We often prefer 18/6 because the dark period creates a slightly calmer climate and root development feels more stable. Autoflower cultivars are often grown under 20/4 or longer, but the same rule applies here: a healthy rhythm is more important than maximum lighting hours when the seedling is still small.
Watering Correctly: The Most Common Mistake With Seedlings
When seedlings fail, overwatering is very often the cause. The problem is not just “too much water,” but above all watering too frequently in a root zone that is too large and too wet. Young plants use very little at first. If you soak the entire pot even though the roots only reach a few centimeters deep, you create a cold, oxygen-poor environment. That slows growth and encourages damping-off.
We have had the best results with small amounts of water applied directly in the root zone. Instead of saturating the entire pot, it is often enough at first to moisten the area in a ring around the seedling. This encourages the roots to actively grow outward without keeping the entire medium constantly wet. A small pot of 0.25 to 0.5 liters is often easier to manage during the first few days than a final container holding several liters.
The pH of irrigation water should be roughly between 6.0 and 6.5 in soil, and more like 5.8 to 6.0 in coco. That sounds technical, but it is especially important with seedlings because they react quickly to lockout. More on that here: how to water cannabis properly. If you also keep an eye on EC and water hardness, you can prevent many later problems as early as week one.
| Parameter | Recommendation for Seedlings | Why It Matters |
|---|---|---|
| Temperature | 23–26 °C | Promotes fast germination and root activity |
| Humidity | 65–75 % | Reduces transpiration stress with small root mass |
| Light intensity | 100–250 µmol/m²/s | Prevents stretching and light stress |
| pH in soil | 6.0–6.5 | Improves availability of key nutrients |
| pH in coco | 5.8–6.0 | More stable uptake of calcium, magnesium, and trace elements |
| Fertilization | Very sparingly to not at all | Seedlings are sensitive to salt stress |
Substrate and Pot Size: Small Roots Need Control
For cannabis seedlings, a loose and relatively mild propagation substrate is almost always the better choice than heavily pre-fertilized soil. The reason is simple: during the first few days, a seedling still feeds partly from the reserves in the seed. Too much nutrient pressure in the medium can irritate or even burn the delicate root tips. Typical signs are dark green, clawed leaves or growth that stalls despite otherwise good conditions.
For soil, we often recommend a light seed-starting mix with good structure and some perlite for additional air pores. Seedlings also perform very well in coco if calcium and magnesium are properly accounted for and irrigation management is on point. Rockwool is possible, but it requires significantly more precision in water content, pH, and EC. For most home growers, soil or a gently buffered coco system is more forgiving at this stage.
Pot size also makes a difference. Many growers want to go straight into the final container to avoid transplant stress. That can work, but it only makes sense if you truly have watering volume and moisture distribution under control. In our experience, seedlings often grow more evenly in small starter pots because moisture, temperature, and oxygen are easier to control there. Transplant only once the root ball is properly established.
Feeding During the Seedling Stage: Less Is Almost Always More
A classic beginner mistake is feeding early according to the idea that more nutrients equal more growth. With seedlings, the opposite is often true. In a good seed-starting soil, they usually need no additional fertilizer at all during the first 7 to 14 days. Even in coco or an inert medium, it is better to start with very weak solutions instead of jumping straight into a “vegetative schedule.”
If anything, we work with a mild nutrient base and low conductivity at this stage. In coco, an initial range of around 0.4 to 0.8 EC often works well, depending on water quality and product line. In soil, no additional input is often necessary as long as the plant maintains a healthy light green to medium green color. Very dark foliage on small plants is rarely a good sign and is often an indication of too much nitrogen.
What matters is reading the plant, not just following the feeding chart. Pale yellow cotyledons alone are not a problem if the new true leaves look healthy. Only when fresh growth stays pale, develops spots, or stalls do you need to investigate the causes. If you want to go deeper into dosage, nutrient logic, and common mistakes, you should take a detailed look at fertilizing cannabis.
Typical Problems With Cannabis Seedlings and How to Recognize Them
Stretched seedlings are among the most common sights: a long thin stem, small leaves, and poor stability. The cause is almost always too little light or too much distance from the lamp. Sometimes excessive temperature also plays a role because warm air promotes stretching growth. In that case, you should bring the light moderately closer, not aggressively. In addition, you can plant a bit deeper when transplanting to stabilize the long stem.
Another common problem is young plants collapsing at the base. If the stem becomes thin, soft, or constricted right at the substrate surface, damping-off or a constantly wet medium is often behind it. There is no miracle cure here: hygienic work, better air movement, less wetness, and a loose substrate are the most effective measures. A light airflow from an indirectly aimed fan strengthens the stem and reduces stagnant moisture.
Yellow or burnt-looking leaf tips on very young plants often indicate overfeeding or a medium that is too “hot.” Twisted leaves, spots, or deformed growth can also point to pH problems, poor water quality, or in rare cases genetic weakness. In our experience, you should not immediately counter with five different products. First check the climate, then the water, then the substrate, then the nutrients. That order often saves the entire grow.
When Seedlings Should Be Transplanted
The right time to transplant depends less on the calendar than on root development and plant behavior. When the seedling has formed 2 to 4 pairs of true leaves, growth is visibly progressing each day, and the starter pot dries out steadily but not immediately, that is usually a good moment. If you transplant too early, you gain little. If you transplant too late, you risk root congestion, slowed growth, and uneven moisture management.
A healthy root ball holds together during transplanting without being completely root-bound. We often see growers wait until roots are already circling. A cleaner, earlier move is better. The new medium should be lightly pre-moistened, but not soaking wet. After transplanting, a moderate amount of water in the direct area of the root ball is enough. Flooding the entire new pot is a typical mistake because the small plant cannot yet use that large wet zone.
If you later work with clones or want to preserve genetics deliberately, you will notice how strongly a good juvenile phase influences later plant structure. For this transition from young plant to vegetative growth, our article on cannabis clones from arrival to harvest is also worth reading, because many principles around climate, root care, and stress prevention are similar.
Indoor, Greenhouse, or Outdoors: Adjust Seedlings to the Environment
Indoors, seedlings can be managed with the greatest precision. Temperature, humidity, and light are controllable, which is exactly why this environment is usually the safest for the first 10 to 14 days. Propagation in a greenhouse also works well if day-night fluctuations are buffered. Especially in spring, many growers underestimate how much cold nights and direct midday sun can slow young plants down.
Outdoors, cannabis seedlings are at their most sensitive. Wind, temperature swings, heavy rain, pests, and UV exposure all hit a plant that still has hardly any reserves. We therefore recommend not placing seedlings directly outside too early, but only moving them out once they are stable young plants with several leaf pairs. Hardening off over several days is essential: first a few hours in indirect light, then gradually more sun and outdoor conditions.
If you are planning a greenhouse or outdoor grow, you should approach the transition phase strategically. The articles growing cannabis in a greenhouse and growing cannabis seeds outdoors are a good fit here. In both environments, the same rule applies: a strong, compact seedling with a well-developed root system is far more resilient than a soft-grown plant that is put outside too early.
Seedlings From Seed or Better to Start Directly With Clones?
Seedlings from seed have their own appeal: a strong taproot, genetic diversity, and the ability to select phenotypes. That is especially valuable for breeders and experimental growers. At the same time, the seedling stage is biologically more variable. Not every seed germinates at the same speed, not every seedling develops identically, and with regular or even feminized seeds, growth structure can vary noticeably.
Clones bypass much of that uncertainty. They do not start as seedlings, but as genetically identical young plants with already determined sex and more predictable growth. If you want reproducible results, want to save time, or want to grow specific genetics deliberately, high-quality clones are often the better choice. In that case, the focus shifts away from germination and toward proper acclimatization, hygiene, and root development.
If you are weighing which starting point makes more sense for you, two articles are especially helpful: 5 good reasons to use clones instead of seeds and buy premium cannabis clones in Germany. For many home growers, the best decision is not ideological, but practical: seeds for selection and breeding, clones for predictability and uniformity.
Sources
- Jorge Cervantes – “Marijuana Horticulture: The Indoor/Outdoor Medical Grower's Bible”, 2006
- Ed Rosenthal – “Marijuana Grower's Handbook”, 2021
- Royal Queen Seeds – “Cannabis Seedling Stage: Growth, Watering, and Light”, 2024
- Bugbee, Bruce – “Cannabis Production and Science”, 2021

About the Author – Hannah
Hannah focuses on researching, contextualizing, and observing current developments in plant care and modern cultivation techniques. Her focus lies on new methods, optimizing growth conditions, and making complex topics accessible. Her content complements practical experience with analysis, updates, and a keen eye on emerging trends.
Content is regularly reviewed and updated.
This article was created with AI support and editorially reviewed.
More about the team behind LeafConnect