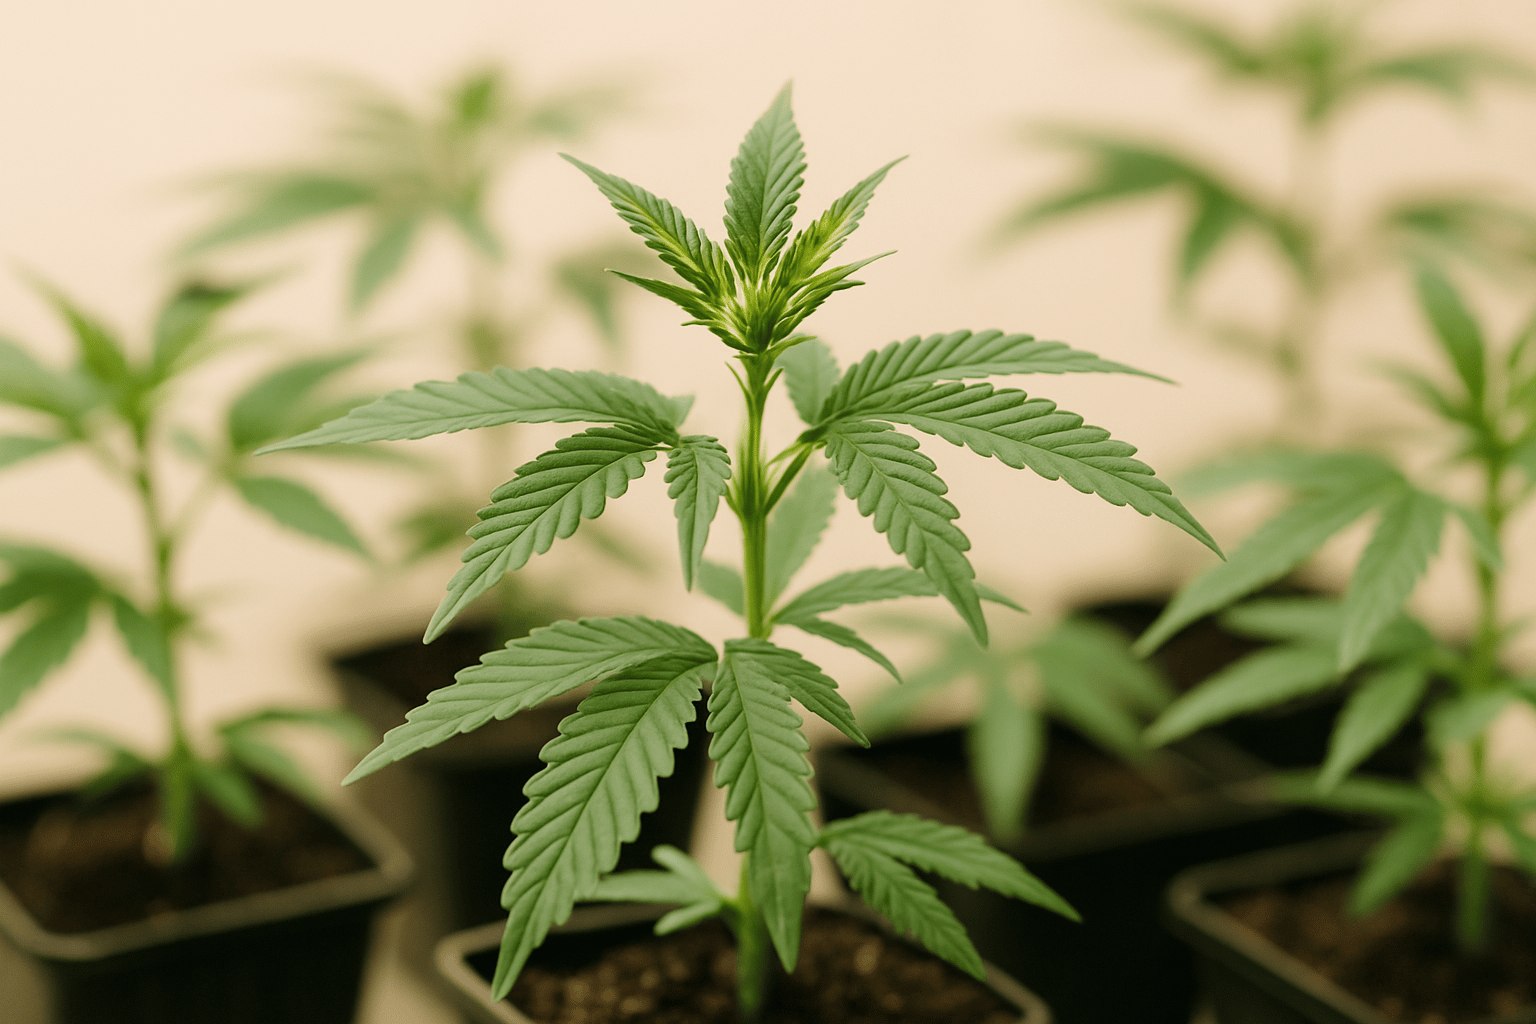
Why Cloning Cannabis Is the Better Method for Many Growers
Cloning cannabis means taking genetically identical cuttings from a selected mother plant and rooting them. The biggest advantage is obvious: you already know how the plant behaves. Growth structure, stretch, flowering time, terpene profile, yield potential, and resilience are no longer a surprise. Especially when you have found a phenotype that truly stands out, cloning is the most direct way to preserve that genetics. In our experience, this is one of the most important steps in turning a random grow into a predictable system.
Another key point is uniformity across the crop. Plants grown from seed often develop differently even within the same cultivar. That can be exciting, but it makes managing light distance, feeding, training, and harvest timing more difficult. With cuttings, you work with far more consistency. This is a real advantage, especially indoors, because an even canopy improves light use. If you want to dive deeper into the core benefits of cloning, you will also find a useful complement in 5 good reasons to use cuttings instead of seeds.
However, cloning also has its limits. If the mother plant is weak, stressed, diseased, or genetically unstable, you are copying those exact problems as well. A common beginner misconception is that cuttings automatically grow faster and better. That is only true if the source plant is healthy and the rooting phase is managed properly. In practice, poor hygiene, incorrect humidity, or too much light cost more cuttings than the cutting technique itself.
Selecting the Right Mother Plant: This Is Where Success Is Decided
Strong clones always begin with a strong mother. Ideally, the plant has been in stable vegetative growth for several weeks, shows no deficiency symptoms, and is free of pests or viral symptoms. Especially important: do not take cuttings from plants that have just been heavily repotted, pruned, overfed, or recovered from drought stress. Such plants often produce soft, unbalanced material that roots more slowly and is more prone to rot.
We have had the best results with mother plants kept under an 18/6 light cycle, fed moderately, and growing compact rather than stretched. The tissue should be firm, but not woody. Very young, soft shoots collapse quickly and lose a lot of water. Very old, hard shoots often root more slowly. Side branches with 2 to 4 nodes and a length of around 8 to 15 cm work best. If you want to work with the same genetics long term, it is worth taking a systematic look at Keeping cannabis mother plants – How to preserve genetics long term.
One point many people underestimate is health in the invisible range. Hop Latent Viroid and other latent issues can remain outwardly unnoticed for a long time and still reduce performance. Anyone cloning regularly should disinfect tools strictly and only cut from plants whose origin and health status are traceable. The article HLV-free cuttings: The silent killer of your harvest is also highly relevant here, because this is exactly where many long-term problems begin.
Tools, Hygiene, and Preparing the Cloning Area
Before making the first cut, the workspace must be prepared. You need a sharp scalpel or very fine scissors, disposable gloves, rooting gel or powder, propagation cubes or a suitable cloning system, a spray bottle, clean water, and a propagation dome. Everything that comes into contact with fresh plant tissue should be cleaned with isopropyl alcohol or another suitable disinfectant. In our experience, poor hygiene is one of the most common reasons for slimy stems, stem rot, and losses in the first few days.
The cloning area itself should be warm, clean, and calm. Ideal conditions are an air temperature of 24 to 26 °C and high relative humidity of 75 to 90% during the first few days. This reduces transpiration pressure while no roots are present. At the same time, the environment must not become stale. Gentle air movement in the room is beneficial, but direct airflow onto the cuttings is not. Too much draft dries out the leaves before the cutting can take up water.
The medium must also be prepared. Rockwool cubes should be conditioned correctly, usually at pH 5.5 to 5.8. Many growers make the mistake of leaving rockwool too wet. The medium should be moist, but not dripping. If you prefer working with soil, coco, or rockwool, the choice of medium is crucial for water retention and oxygen at the cut site. You can find more on this in The best substrates for cannabis and, for mineral cubes in detail, in Growing cannabis in rockwool.
Cutting Cannabis Clones: A Clean Cut Makes the Difference
The actual cut should be made quickly and without haste. Choose a healthy side branch and make the final cut just below a node. This is where especially active dividing tissue is located, allowing roots to develop more easily. Many experienced growers cut the stem at an angle of about 45 degrees to slightly increase the surface area. In our experience, the angle alone is not decisive, but a clean, smooth cut without crushing definitely is.
As soon as the shoot is separated from the mother, it should not be left exposed for long. Ideally, it goes immediately into water or directly into rooting gel. This prevents air from being drawn into the vascular tissue and interfering with water uptake. The lower leaves and side shoots are then removed so that no plant material later rots in the medium. Large fan leaves can be cut in half if they provide a lot of surface area. This reduces evaporation without completely slowing photosynthesis.
A common beginner mistake is removing too many leaves or cutting the clone too small. A clone still needs enough green mass to produce energy. Cuttings that are stripped too heavily may look tidy, but they often root more slowly. If you are unsure how much leaf mass makes sense, it also helps to look at Should you cut the leaves of THC cuttings while they grow?, because it explains this exact balance in a practical way.
Rooting: Managing Climate, Light, and Humidity Correctly
Freshly cut clones do not yet have roots and can only take up water to a very limited extent. That is why controlling humidity and light during the first 7 to 14 days is critical. We usually keep fresh cuttings under low to moderate light, around 100 to 200 PPFD. Light that is too intense increases metabolism and therefore water demand, which the cutting cannot yet meet. The result is drooping leaves, burned tips, or complete collapse.
As for humidity: start high, then lower it gradually. During the first 3 days, 80 to 90% is often useful, then step down toward 70 to 75% once the cuttings are standing stable. It is important to open the dome briefly every day so stale air and excess moisture can escape. Permanently wet leaf surfaces encourage mold and bacterial issues. Growers who spray too much often cause more harm than benefit. In our experience, light misting at the beginning is enough; after that, the climate should be managed more through the dome than through constantly wet leaves.
The root zone must remain oxygen-rich. Overly wet cubes are one of the classic killers during rooting. The cutting needs moisture, but it also needs air at the cut site. If propagation cubes feel heavy and cold, that is usually a warning sign. Beginners in particular often mistake wilting for dryness and then water even more. In reality, the problem is often overwatering. For later irrigation practice, the article How to water cannabis properly: mastering water, timing, and common mistakes is also worth reading.
| Parameter | Recommended range | Why it matters |
|---|---|---|
| Air temperature | 24–26 °C | Promotes cell activity and reduces stress |
| Root zone temperature | 22–25 °C | Speeds up callus and root formation |
| Humidity day 1–3 | 80–90 % | Prevents severe drying out without roots |
| Humidity from day 4 | 70–80 % | Gradually hardens off the cuttings |
| Light intensity | 100–200 PPFD | Enough energy without excessive transpiration |
| pH in rockwool/coco | 5,5–5,8 | Improves nutrient availability during propagation |
| Rooting duration | 7–14 days | Depends on genetics, shoot age, and climate |
Which Media and Methods Actually Work for Cloning
There is no single perfect method for everyone. Rockwool cubes, Rooter plugs, aeroponic cloners, coco plugs, or light seed-starting soil can all work if the environment is right. Rockwool is very uniform and clean, but it requires precise water management. Rooter plugs are somewhat more forgiving for many beginners because they usually balance air and water better. Aeroponic cloners can be extremely fast, but they require clean water, stable temperatures, and good hygiene.
In practice, we have often seen growers switch to complex systems too early. If you do not yet have the basics of cutting, climate, and humidity under control, even an expensive cloner will not deliver consistent results. For small to medium quantities, good plugs or cubes are usually more than sufficient. What matters is not only the medium, but also that the cutting sits firmly, the cut site has contact, and the material does not become waterlogged.
Depending on the cultivation system you plan to use later, it can make sense to place the cutting directly into a suitable starter medium. If you are going into soil later, small soil cubes or plugs often provide a gentle transition. If you are working in coco or hydro, you benefit from media that are pH-stable and rich in air. For later crop management, it is worth looking at Growing cannabis in soil or Growing cannabis in coco coir, because ideally the starter medium should match the overall system.
Feeding and Care During the Rooting Phase
Fresh cuttings need very little nutrition in the first few days. At first, the plant lives off its reserves. A common mistake is using strong fertilizer early because you want to force growth. That does not work. Without roots, the cutting can hardly absorb nutrients efficiently, and high salt levels put additional stress on the tissue. If anything, feed only very lightly: around EC 0.2 to 0.6, depending on water quality and medium.
Rooting stimulants can be useful if they are dosed cleanly. Products with seaweed extracts, humic acids, or mild root aids can support establishment. What we do not recommend is a cocktail of several additives at the same time. In practice, that makes the cause of problems unclear and tends to lead to overfeeding rather than better roots. Less is almost always more at this stage. If you want to understand nutrient strength and measurement values in more detail, Cannabis cultivation: understanding EC and PPM in detail provides a solid foundation.
As soon as the first roots are visible, humidity can be reduced gradually and feeding can be increased slightly. This is exactly where many cuttings fail, because they are treated too quickly “like normal plants.” A freshly rooted clone may have roots, but it still does not have a fully robust root system. So stay moderate for the first few days after rooting: light intensity, careful watering, mild nutrient solution, and no harsh training measures.
Common Mistakes When Cloning Cannabis and How to Avoid Them
The most common mistake is too much water. Cuttings do not die only from drought; very often they die from lack of oxygen in the medium. If stems become glassy, soft, or brown at the bottom, that is usually not a nutrient problem but rot caused by wetness and poor hygiene. Also very common: light that is too strong immediately after cutting. The cutting then loses more water through evaporation than it can replace and collapses within a few hours.
A second classic mistake is poor source material. Anyone taking cuttings from stressed, flowering, or deficient plants starts with a handicap. Re-veg cuttings from early flowering can also work, but they are significantly slower and more unpredictable. For beginners, that is unnecessarily complicated. It is better to take vigorous shoots from healthy vegetative plants. If pests are already present in the crop, the problem should be solved first. You can find more on this in Preventing and treating pests & diseases in cannabis cuttings.
A third mistake is insufficient hardening off. Cuttings that have spent days under very high humidity must be gradually acclimated to normal conditions. If the dome is removed abruptly, wilting can occur despite existing roots. We first open the dome for longer periods, then remove it completely before moving the plants into the normal veg room. This transition phase may seem unspectacular, but it often determines whether a clone merely survives or continues growing with real vigor.
After Rooting: Transplanting, Establishment, and Continued Growth
A cutting is ready for transplanting when several fresh white roots are visible and the shoot is actively growing again. Do not transplant too early, but also do not leave it in the small cube forever. If roots start circling heavily or the cube dries out too quickly, it is time for the next step. When transplanting, the new medium should be evenly moist, but not wet. Overly wet pots immediately slow down young roots.
During the first 3 to 5 days after transplanting, the clone should not be trained aggressively. No hard topping, no heavy defoliation, no extreme bending. Let the plant first build a stable root foundation. After that, it can be managed like any other vegetative plant. If you want to transition cuttings into the growth phase in a structured way, you will also benefit from Growing cannabis cuttings successfully: the guide from arrival to harvest.
From this point on, the normal rules of vegetative growth apply: suitable light, proper watering, moderate nutrition, and a balanced climate. Especially after transplanting, it becomes clear how good the rooting really was. A vigorous clone perks up quickly, forms new leaf tips, and shows visible momentum within a few days. If growth stalls, it is worth checking root health, VPD, light distance, and watering rhythm before adding more fertilizer too quickly.
When Cloning Is Especially Worthwhile and When Seeds May Be the Better Choice
Cloning is especially worthwhile when you want to repeat proven genetics, build a uniform crop, or save time in the vegetative phase. For Sea of Green setups, small indoor spaces with limited height, or growers who want to reproduce a specific aroma and growth behavior exactly, cuttings are often the most efficient solution. This can also be interesting outdoors if you already know which genetics perform reliably in your climate. The article How to grow cannabis cuttings outdoors fits well here.
Seeds still have their place. If you are looking for new genetics, want to select, or deliberately test different phenotypes, seeds are essential. Seeds are also often the easier choice if you cannot maintain a healthy mother plant or are not able to clone cleanly over the long term from a hygiene standpoint. In our experience, cloning is not a substitute for good cultivation practice, but a tool for greater consistency.
If you do not want to take cuttings yourself but would rather start directly with clean plant material, a reputable supplier can save a lot of work and risk. What matters is traceable origin, healthy plants, vigorous rooting, and a professional approach to hygiene. You can find an overview in Buy premium cannabis cuttings in Germany and How to find high-quality hemp cuttings.
Sources
- Royal Queen Seeds – “How to Clone Cannabis Plants”, 2023
- Ed Rosenthal – “Marijuana Grower’s Handbook”, 2021
- Jorge Cervantes – “The Cannabis Encyclopedia”, 2015
- Cannabis Business Times – “Hop Latent Viroid and Cannabis Propagation”, 2023

About the Author – Ben
Ben has been intensively involved in the cultivation and care of cuttings and the healthy development of plants during the growth phase for several years. His focus lies on low-stress training methods, stable growth conditions, and avoiding common care mistakes. The content is based on practical experience, proven methods, and real observations from daily work with young plants.
Expert contribution & updates: Hannah – Research, contextualization of current methods and observation of new developments.
This article was created with AI support and editorially reviewed.
More about the team behind LeafConnect