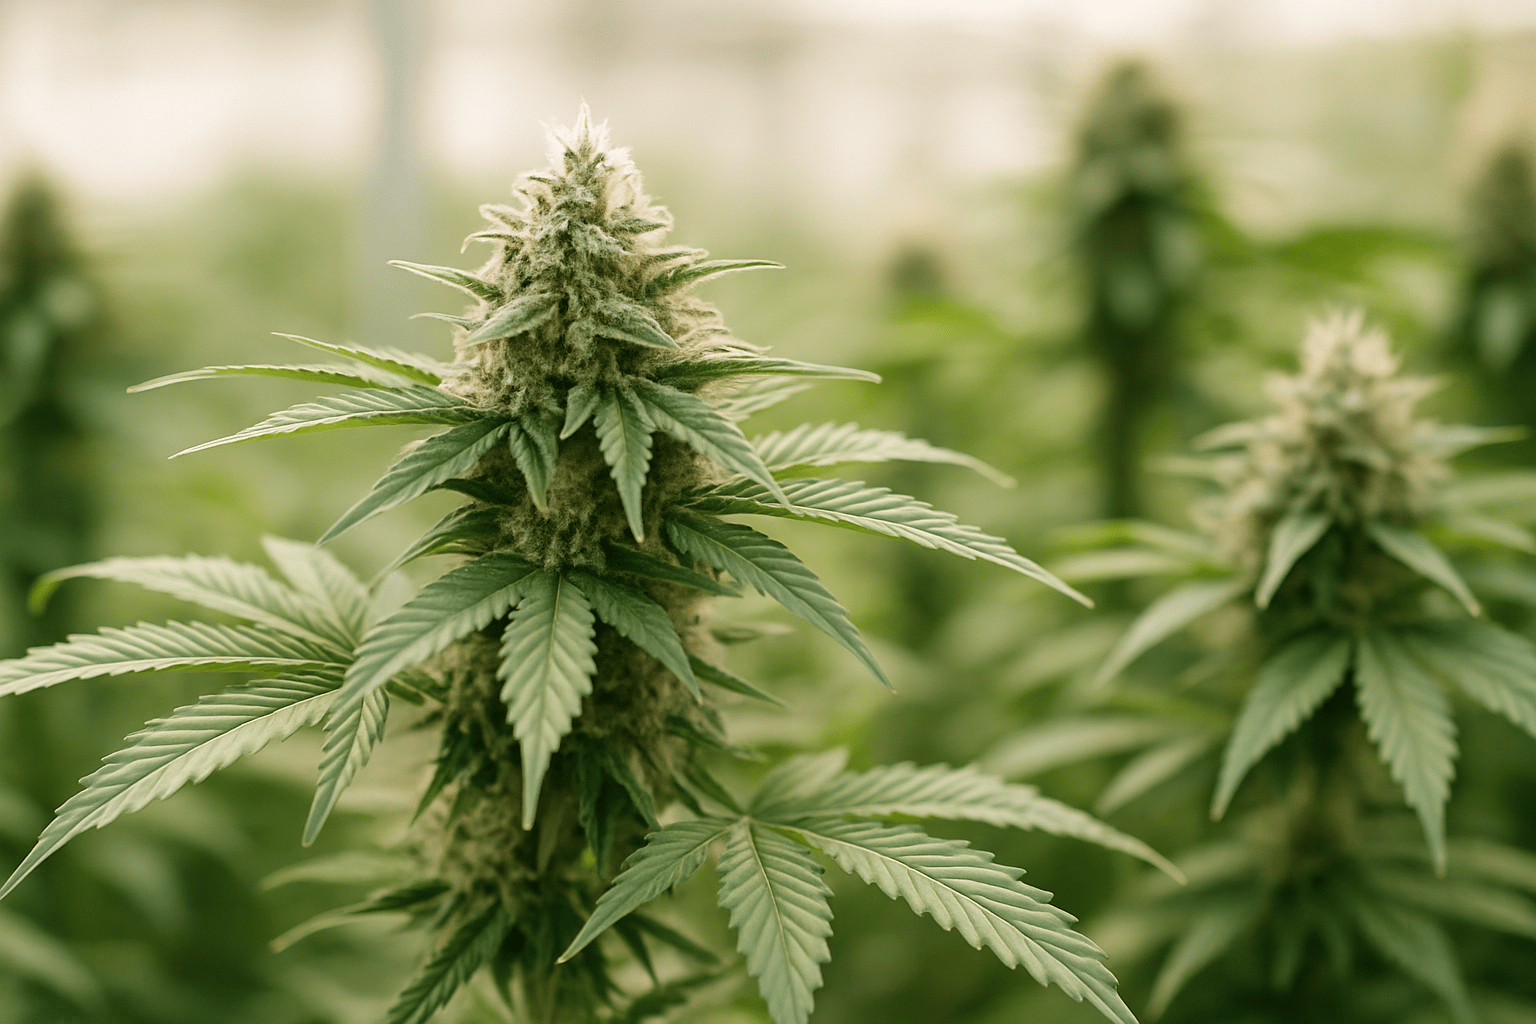
What Cannabis Sucker Pruning Really Means
When you prune suckers, you remove weak, poorly lit side shoots and small offshoots in the lower or inner parts of the plant that are very unlikely to produce dense, high-quality flowers. Many growers confuse this with defoliation or general pruning. In practice, the distinction matters: with defoliation, you mainly remove leaves; with sucker pruning, you specifically remove shoots that cost the plant energy without delivering meaningful yield later on.
In our experience, sucker pruning is especially beneficial when plants grow very bushy, branch densely, or are under limited light. That applies indoors under LED just as much as in a greenhouse or at wind-sheltered outdoor sites. The plant does not distribute assimilates, water, and nutrients with unlimited efficiency. If you leave too many weak secondary shoots in place, the lower part often produces only loose “popcorn buds,” while the upper main flowers face unnecessary competition.
The real purpose, then, is not “less plant,” but better distribution of light, air, and metabolic energy. That is exactly why sucker pruning is not an end in itself. A healthy, open-structured plant under strong lighting often needs far less intervention than an overloaded, shaded one. Growers who understand the principle work more precisely and do not cut by rote.
If you want to take a closer look at shoot structure, it helps to review the anatomy of the cannabis plant. It quickly becomes clear which areas will become productive and which are just along for the ride.
When Sucker Pruning Really Makes Sense—and When It Doesn’t
The best time is almost always in late vegetative growth or very early flowering, when the plant is just beginning its stretch or is about to. With photoperiod plants, our practice has shown that a window of about 5 to 10 days before switching to 12/12 up to roughly day 14 to 21 of flowering works well. During this period, it becomes easy to see which shoots will reach the canopy and which will remain permanently shaded.
Why then? Before flowering, you can still shape the structure with relatively little stress. In the first two to three weeks of flowering, the stretch also reveals which shoots truly have potential. After that, heavier sucker pruning becomes riskier because the plant has already established its flower structure, and unnecessary stress can slow development. Late, aggressive interventions often cost more than they deliver.
Sucker pruning is especially useful with dense, indica-leaning hybrids, plants with many short internodes, tightly packed SOG or cramped tent setups, and anywhere light penetration is limited. In humid environments, a cleaned-up lower zone can also help improve the microclimate and reduce mold risk. Anyone growing in a protected environment should compare this with conditions in the greenhouse, because airflow there often determines success or Botrytis.
Sucker pruning is not advisable—or only advisable with great caution—on weakened plants, freshly repotted plants, plants with nutrient issues, pest pressure, or autoflowers with a short vegetative period. An auto that only has a few weeks of growth to begin with often responds to unnecessary stress with lower final yield. The same applies to plants that are just relieving root pressure or recovering from overwatering.
Which Shoots Should Be Removed
The most important rule is this: remove what realistically will not reach the canopy, or what will only perform weakly there. That includes very thin side shoots in the lower third, inward-growing competing shoots, soft shaded offshoots, and small branches below a clear light line. If you move a shoot between two fingers and can already tell it has almost no stability, it will rarely support a heavy, compact bud later on.
A common mistake we see again and again: growers cut based only on height. Height alone is not enough. What also matters is shoot strength, distance from the light source, leaf mass, and whether the shoot will stand freely in two weeks or remain shaded. A slightly lower but vigorous side shoot can be more productive than a taller, thin, spindly shoot in the plant interior.
Very good candidates for removal also include shoots that cross under a dense leaf canopy, rub against each other, or receive hardly any airflow. These areas dry more slowly after watering and develop a humid microclimate more easily. Especially with compact cultivars, this is an underestimated factor. If you also want to manage leaves at the same time, read our article on defoliating cannabis, because sucker pruning and defoliation work together, but they are not the same thing.
As a rough guideline, in many setups it works well to critically assess the lower 20 to 30 percent of the plant. This is not a rigid rule. Under very strong LEDs with even coverage, deeper growth can still be worthwhile. Under weaker light or with high plant density, the unproductive zone is often larger.
The Right Technique: Clean, Targeted, and Without Unnecessary Stress
Sucker pruning should always be done with clean tools. Sharp, disinfected scissors or fine pruning shears are essential. We disinfect between plants with 70% isopropyl alcohol, especially when multiple genetics are in the room. This reduces the risk of mechanically transmitting pathogens or viruses. Anyone working with cuttings should never underestimate hygiene; our article on HLV-free cuttings is also relevant here.
Cut as close to the base as possible, but without injuring the main shoot. Do not leave long stubs behind: they dry back poorly, can cause unnecessary tissue dieback, and create an unattractive entry point for problems. At the same time, you should not cut into the main stem. Clean, small wounds heal much faster than crushed or torn tissue.
In our experience, it is better to work in two moderate passes than in one brutal one. For example: a first pass shortly before flowering, removing clearly weak lower shoots, and a second, smaller corrective pass around day 10 to 14 of flowering. That way, you respond to the actual stretch without overloading the plant. Anyone removing 40 to 50 percent of the lower growth in a single day often triggers an unnecessarily strong stress response.
Right after sucker pruning, you should not introduce extreme environmental changes. So do not repot at the same time, feed heavily, massively increase light intensity, and prune additionally. Plants handle interventions better when only one major stressor occurs at a time.
Sucker Pruning in Vegetative Growth and Flowering: A Practical Workflow
In the vegetative phase, the process starts with observation at eye level and from the side. Do not just place the plant under the lamp—deliberately crouch down and look under the leaf canopy. There, you can immediately see which shoots are growing on little more than hope. Mentally divide the plant into three zones: fully lit at the top, borderline in the middle, clearly unproductive at the bottom. Only then should you cut.
In the first pass, we usually remove the lowest 2 to 4 side shoots on medium-sized plants, along with everything growing directly inward. On heavily branched plants, it can be more. After that, we leave the plant alone for 3 to 5 days and observe whether the remaining shoots visibly lift themselves. That is a good sign: the plant is redirecting energy into the remaining tops.
In early flowering, adjustments are made after the stretch. Anything still hanging clearly below the canopy and with no chance of getting light is removed. This step is especially effective because it is now clear which flower sites will truly carry weight later. If you want to learn more about development in this phase, our article on the cannabis flowering stage explains the relevant connections between stretch, resin production, and yield steering.
One point from real-world grow practice: after sucker pruning, plants often look “too bare,” especially to beginners. That is psychologically normal. What matters is not how full the plant looks immediately after cutting, but whether the remaining canopy receives even light and continues growing vigorously over the next 7 to 10 days. That is how success should be measured.
Common Mistakes When Pruning Suckers on Cannabis
The most common mistake is cutting too late. Once the plant is already deep into flower mass, it has already invested energy into shoots and pre-flowers. At that point, you are no longer just removing ballast—you are often removing already established yield surface. The result is open wounds, stress, and less benefit. Late cleanup is only worthwhile in exceptional cases, such as when mold prevention or airflow is suddenly more important than maximum mass.
Mistake number two is overdoing it. Some growers remove every small side shoot and later wonder why there are too few bud sites. A plant needs enough productive surface to convert light into yield. The goal is selection, not scalping. Especially with sativa-leaning plants with wider internodal spacing, even medium side shoots can still produce very good colas if they receive light.
Mistake number three: treating sucker pruning as a substitute for poor cultivation practices. If the tent is too crowded, the lamp is too weak or hung poorly, watering is inconsistent, or nutrient supply is off, pruning will not solve the underlying problem. A clean root zone, proper watering, and stable nutrition often have more impact than any cut. That is why it is also worth reviewing how to water cannabis properly and fertilizing cannabis before trying to fight yield problems with scissors alone.
Another mistake is poor hygiene. Especially in multi-plant setups or with mother plants, dirty tools can spread disease. Anyone pruning regularly should keep scissors, hands, and work surfaces consistently clean. It sounds trivial, but it is one of the differences between hobby routine and professional plant hygiene.
Differences by Genetics, Growing Style, and Location
Not every plant responds the same way. Compact Kush and Cookie lines with dense branching usually benefit more from sucker pruning than airy, tall-structured sativas. With short internodes, a shaded interior forms quickly. In those cases, exposing the bearing shoots is especially worthwhile. On more open plants, a very selective intervention is often enough.
With cuttings, growth is usually more uniform than with plants grown from seed, which makes sucker pruning more predictable. In our experience, even clone runs are easier to trim into a clean canopy because height, stretch, and branching tend to be more similar. If you work with clones, our guide to cannabis cuttings provides further details on stable development from start to harvest.
Indoors, sucker pruning is especially useful because light always comes from a defined direction and has limited penetration depth. Outdoors, the sun can move deeper into the plant, which means a bit more side growth can still make sense. At the same time, dense, humid outdoor vegetation increases the risk of mold and poor ventilation. In the garden or greenhouse, it is therefore not only about yield, but also about plant health.
We treat autoflowers much more conservatively. If at all, only very early, minimal interventions on clearly unproductive lower shoots. Anything more can quickly cost time that will not come back in a short life cycle. With photoperiod plants that have enough veg time, the margin for error is much greater.
Quick Overview: When, How Much, and for Whom Sucker Pruning Is Worthwhile
| Situation | Recommendation | Why |
|---|---|---|
| Photoperiod, late veg | Moderate sucker pruning | Optimize structure before flowering, direct energy to strong tops |
| Flowering day 1–14 | Light corrective pass | After stretch, it becomes visible which shoots will not reach the canopy |
| Flowering from week 4 | Only in exceptional cases | Cutting too late tends to reduce yield and increase stress |
| Autoflower | Very restrained | Short vegetative period, low recovery reserve |
| Dense indoor canopy | Clear recommendation | Better light distribution, fewer popcorn buds, more airflow |
| Outdoor with open plant structure | Selective | Sunlight penetrates deeper, not every lower shoot is automatically useless |
| Stressed or sick plant | Postpone | Restore stability first, then prune |
How to Tell Whether Sucker Pruning Was Successful
A good result does not show on the same day, but over the following 7 to 14 days. Successfully pruned plants visibly lift their remaining shoots, form a more even canopy, and develop stronger flower sites in the upper zone. Lower down, less loose material remains that later brings little joy during trimming.
Another indicator is the climate within the plant stand. If, after watering or after the dark period, moisture dissipates more quickly in the lower area and air circulates better, the measure was often exactly right. This is especially important in flowering, when dense plant mass and high humidity come together. In problematic setups, clean sucker pruning often also results in fewer yellow, light-starved inner leaves.
If, on the other hand, several tops stall, the plant droops heavily, or new shoots remain unusually small, the intervention may have been too harsh or poorly timed. In that case, do not keep cutting—first check the core parameters: VPD, irrigation, root health, EC, pH, and light distance. Pruning technique is only ever as effective as the rest of the setup.
Assessing Yield, Quality, and Workload Realistically
Sucker pruning does not automatically increase the total yield in grams of every individual plant. What it very often improves in our experience is the usable harvest: less airy undergrowth, more dense main flowers, more even ripening, and less unnecessary trim waste. Especially for home growers with limited drying and processing time, that is a real advantage.
In terms of quality, the main benefits are light efficiency and flower structure. If the upper zone is not constantly giving up energy to shaded areas, colas are often more compact and uniform. On top of that, a more open plant structure makes spraying, inspections, and later harvest work easier. Anyone who has ever manicured a completely overgrown underside knows how much time disappears into low-quality material there.
The best measure of success at the end comes not only from the scale, but also from the drying rack and the scissors. If, after harvest, you have to sort out significantly fewer immature small flowers and the main buds ripen cleanly and evenly, then the sucker pruning has done its job.
Sources
- Jorge Cervantes – “Marijuana Horticulture: The Indoor/Outdoor Medical Grower’s Bible”, 2015
- Ed Rosenthal – “Marijuana Grower’s Handbook”, 2021
- Royal Queen Seeds – “Lollipopping Cannabis Plants: How and When to Do It”, 2023
- Cannabis Business Times – “Pruning and Canopy Management for Better Flower Production”, 2022

About the Author – Ben
Ben has been intensively involved in the cultivation and care of cuttings and the healthy development of plants during the growth phase for several years. His focus lies on low-stress training methods, stable growth conditions, and avoiding common care mistakes. The content is based on practical experience, proven methods, and real observations from daily work with young plants.
Expert contribution & updates: Hannah – Research, contextualization of current methods and observation of new developments.
This article was created with AI support and editorially reviewed.
More about the team behind LeafConnect