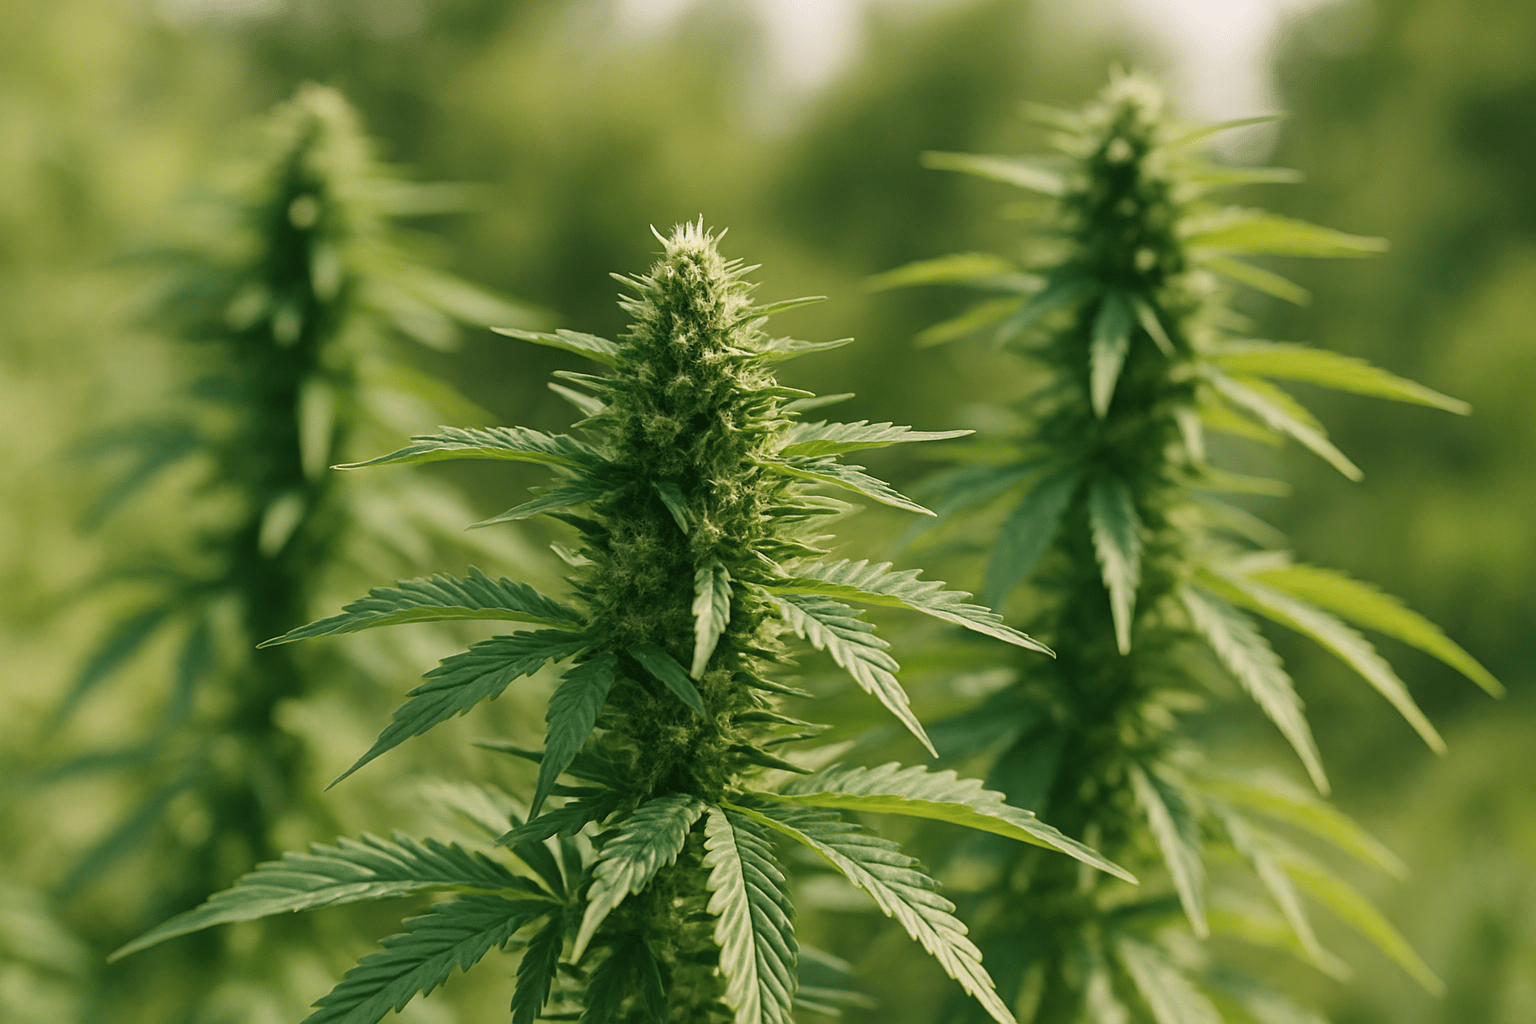
Why Outdoor Cultivation Works Differently Than Indoor
For many, growing cannabis in the open air sounds easier than an indoor grow, because sunlight, air movement, and soil seem to provide many essentials for free. In practice, however, outdoor is not a “set-and-forget” system, but a cultivation method with different rules. Outdoors, the plant develops much stronger responses to day length, temperature swings, wind pressure, rainy periods, and microbial activity in the root zone. These very factors often make outdoor plants more robust in expression, but also more vulnerable to mistakes in location, genetics, and timing.
In our experience, the biggest misconception is treating outdoor like indoor without lamps. Outside, you do not control the climate; you work with the climate. That means strain selection, pre-vegetation, planting date, pot size, soil structure, and disease prevention all need to be planned properly before transplanting. If you only react once heavy rain, Botrytis, or nutrient problems become visible, you are usually already too late.
Outdoor cultivation is especially worthwhile when you consistently adapt the season to your location. In southern Germany, sheltered gardens, or sunny inner courtyards, different genetics perform well than in cooler, humid regions. If you want to dive deeper into classic garden cultivation, you will find additional practical tips in the article Growing Cannabis in the Garden: How to Achieve Strong Outdoor Plants and Clean Harvests.
The Right Genetics for Outdoor Cannabis
In outdoor cultivation, genetics determine success or failure earlier and more decisively than many growers realize. Large, late-finishing varieties with dense flower structure may look attractive in a catalog, but under Central European autumn conditions they are often problematic. Time and again, we have seen that the winner is not the theoretically highest-yielding strain, but the one that finishes before prolonged rain and flowers openly enough not to trap mold.
For Germany and comparable climate zones, robust, fast, and mold-resistant lines are usually the better choice. Early photoperiod strains, selected hybrids with stable outdoor performance, and in some setups autoflowering genetics have proven especially effective. Autoflowers are interesting if you want to use short seasonal windows or reduce mold risk in autumn. Their downside: they are far less forgiving of stress during the first weeks of life than photoperiod plants.
With clones, starting quality is even more important. A vigorous, cleanly rooted clone with healthy leaf color and vital growth saves valuable time outdoors. At the same time, the genetics must genuinely match the location. You can find more on this in How to Grow Cannabis Clones Outdoors as well as in The Best Cannabis Strains for Outdoor Cultivation in Germany 2026.
| Genetics Type | Outdoor Advantages | Outdoor Disadvantages | Suitable For |
|---|---|---|---|
| Photoperiod | High yield potential, good trainability, long vegetative phase | Later harvest, higher autumn risk | Gardens with a long season and good airflow |
| Autoflowering | Fast harvest, less dependent on day length, often finished before autumn rain | Stress-sensitive in early growth, limited correction options | Short summers, discreet setups, multiple runs |
| Clones | Uniform growth, known traits, time advantage | Quality of starting material is critical | Growers with a clear strain choice and a predictable season |
Choosing the Location: Sun, Air, Drainage, and Discretion
A good outdoor location provides at least 6 hours of direct sunlight, ideally 8 or more. Morning sun is especially valuable because it dries off dew faster and thereby reduces fungal pressure. In our experience, plants in spots with early sun exposure and light air movement are often healthier than specimens that may be warm but sit in damp corners without air exchange. Those are exactly the places where Botrytis, leaf spots, and pest pressure often develop later.
Drainage is just as important. Waterlogging in beds or heavy pots is one of the most underestimated outdoor mistakes. Roots need oxygen; if the soil stays compact and wet for several days after rain, the rhizosphere begins to deteriorate. This does not always show up immediately as yellow leaves. More often, you first see slowed growth, drooping leaves despite moist soil, or unstable nutrient balance. In heavy soils, we therefore like to work with compost, perlite, coarse structure, and slightly raised planting sites.
Discretion is also part of site selection. Large outdoor plants develop a noticeable odor during flowering and become more visible as the season progresses. Plan not only around sunlight, but also around sightlines, neighbors, and accessibility. On the subject of odor behavior and influencing factors, the article Understanding Cannabis Odor: Causes, Influencing Factors, and Practical Tips for Cultivation, Harvest, and Storage is a good fit.
Pre-Growing and the Right Planting Time
Strong outdoor plants rarely begin directly in open ground. We usually start seeds or clones in a protected environment so the young plants go outside with a stable root system and sturdy stem. For many regions, a sensible pre-growing window is between late March and early May, depending on temperature, light intensity, and the planned genetics. What matters less is a fixed date than the combination of night temperatures, day length, and weather stability.
Young plants should only go outside permanently once late frost is practically ruled out and nighttime temperatures are reliably around 10 to 12 °C or higher. Some plants may survive cooler nights in the short term, but growth and root activity suffer noticeably. Clones in particular react to cold, wet conditions with growth stoppage or stress symptoms. A common mistake is transplanting too early out of impatience. Two weeks later in stable weather often delivers more than an early start with setbacks.
Before final transplanting, hardening off is mandatory. Plants from indoor spaces or greenhouses must be gradually acclimated to UV radiation, wind, and temperature fluctuations over 5 to 10 days. Otherwise, sunburn, curled leaves, and slowed growth are likely. Especially with pre-grown, dark green plants, it quickly becomes obvious if they were moved into full sun too abruptly.
Building the Right Substrate, Soil Life, and Root Zone
Outdoors, the root zone determines the pace of the entire season. In beds, plants benefit from active soil life, deeper rooting, and more stable moisture. In pots, you have more control, but you must manage water and nutrients much more precisely. Both can work exceptionally well if the structure is right. For most hobby outdoor grows, a loose, humus-rich soil with good drainage is the safest foundation.
In our experience, outdoor substrates perform best when they retain water without compacting. A good mix contains high-quality soil, mature compost, some aerating structure such as perlite or pumice, and, if needed, organic slow-release components. Soil pH should be roughly between 6.0 and 7.0; with most soil mixes, 6.2 to 6.8 is a very good working range. Soil that is too acidic or compacted often leads to deficiency symptoms outdoors, even when enough nutrients are actually present.
In container culture, 20 to 50 liters is a practical range for medium-sized plants; large photoperiod plants often benefit from 50 liters or more. Small pots dry out extremely quickly in July and August and limit root volume. If you want to go deeper into substrate selection, The Best Substrates for Cannabis: Soil, Coco, Rockwool, and Living Soil Compared is a useful companion article.
Watering and Feeding in an Outdoor Grow Without the Typical Mistakes
Outdoors, watering is often either observed too little or handled too reactively. Rain does not replace controlled irrigation, because it falls unevenly and pot substrates can partially resist water uptake after drying out densely. We recommend watering not by calendar, but by pot weight, a finger test several centimeters deep, and the plant’s overall appearance. In peak summer, large pots may need water daily, while in spring several days between waterings can be sensible.
A common mistake is superficial top-up watering in small amounts. That encourages shallow roots and leaves dry zones inside the root ball. Better is deep watering until the substrate is evenly moistened and some runoff appears. Watering in the morning is usually ideal outdoors, because the plant can actively take it up during the day and the moisture does not carry unnecessary coolness into the night. You can find more details in the article How to Water Cannabis Properly: Mastering Water, Timing, and Common Mistakes.
When it comes to feeding, the rule outdoors is usually: stable is better than aggressive. Organic fertilization is often more forgiving outdoors because it supports soil life and is less likely to cause salt spikes. During the vegetative phase, cannabis mainly needs nitrogen; later in flowering, more phosphorus and potassium, but not in excessive amounts. Too much fertilizer does not automatically make plants more productive; instead, we often see burnt tips, dark foliage, delayed ripening, or increased disease pressure. A clear overview of nutrients and dosage can be found in Fertilizing Cannabis: Nutrients, Dosage, and Common Mistakes Under Control.
Training, Pruning, and Plant Structure Outdoors
Outdoor plants can become large, but “larger” is not automatically “better.” What matters is a structure that distributes light, brings air into the interior, and can later support the weight of the flowers. Outdoors, we often work with early topping, gentle LST, or targeted tie-downs to create a broader, more stable canopy. This is especially worthwhile with photoperiod plants that have a longer vegetative phase.
A common mistake is pruning too late and too aggressively. In an outdoor grow, every intervention should have a clear purpose: better light penetration, less damp inner foliage, and a more stable side-branch structure. If you still prune heavily in early flowering, you drain the plant’s energy and create unnecessary entry points for stress. More sensible is moderate thinning of the lower, weak areas and removing shoots that would never properly reach the light anyway.
If plants become very large, you should think about support early. Bamboo stakes, nets, or soft ties prevent later breakage from wind and wet flowers. The problem often only becomes visible in September: a plant looks perfect until then and then collapses under its own weight after a rainy day. If you prepare the structure in July, you can avoid real losses in autumn.
Weather, Mold, and Pests: Actively Managing Outdoor Risks
The critical part of the outdoor season often begins not during vegetation, but in late flowering. Warm days, cool nights, dew, fog, and rain create ideal conditions for Botrytis. Dense colas, poorly ventilated locations, and plants with too much inner foliage are especially at risk. In our experience, no single measure solves this; only a full package does: suitable genetics, airy structure, regular inspection, and a realistic harvest decision.
Do not inspect flowers in late bloom only superficially. Botrytis often starts inside. Warning signs include individual sugar leaves suddenly drying out, soft spots in the bud, or gray-brown tissue in the core. Affected areas must be removed cleanly and generously. If you wait too long and keep hoping, you can quickly lose entire main branches. For more depth, see: Botrytis in Cannabis: Causes, Identification, and Control.
Insects and mites are also part of everyday outdoor cultivation. Aphids, thrips, caterpillars, and in dry periods spider mites are typical candidates. We recommend regular checks of leaf undersides, yellow sticky traps for monitoring, and clean plant hygiene around the site. Companion plants can be useful, but they do not replace inspection. In the case of heavy infestation or recurring problems, do not experiment; act specifically and in a crop-compatible way.
Flowering Phase, Ripeness, and the Right Outdoor Harvest Time
Outdoor flowering is heavily shaped by day length and weather windows. While indoor cultivation can often be planned down to the day, outdoors you must constantly weigh your options: let it ripen longer or harvest before the next rainy period? This decision separates experience from theory. On paper, a plant may need another week, but in practice it can lose significant quality after three wet nights.
When assessing ripeness, we do not rely on calendar information alone. Trichomes, pistil development, calyx swelling, odor development, and the plant’s overall appearance are more meaningful. Many growers harvest too early out of uncertainty or too late in hopes of “even more weight.” Harvesting too early costs potency and aromatic complexity; harvesting too late often increases the risk of mold and oxidized quality outdoors. You can find good guidance on ripeness in Harvesting Cannabis: The Right Time, Clean Technique, and Maximum Quality.
The harvest itself should be carried out dry and clean. Cutting wet plants directly after rain is only an emergency solution. If possible, wait for a dry window so less surface moisture enters the drying room. We often harvest large outdoor plants in stages: first the vulnerable, ripe tops, then the rest. That is not a weakness, but a very practical risk-management strategy.
Drying and Curing Determine True Outdoor Quality
Many good outdoor grows lose their quality after harvest. Flowers dried too warm, too dry, or with too little air exchange become harsh, flat in aroma, and unstable in storage. Ideal is a dark room at around 16 to 20 °C and 55 to 60% relative humidity. Drying too quickly below 45% humidity preserves chlorophyll notes and prevents a balanced final product.
In our experience, 10 to 14 days of drying is a good range for many outdoor flowers, depending on flower density, leaf content, and room climate. After that, the important curing phase begins in jars or suitable containers. During the first two weeks, they are aired regularly; later, less often. This is exactly where the aroma develops cleanly and smoking quality improves significantly. Anyone who takes this step seriously often gets more out of average buds than someone with a better grow but poor post-harvest handling.
If you want to optimize curing deliberately, it is worth reading Curing Cannabis: How Aroma, Effect, and Quality Mature Properly. Outdoor flowers with a complex terpene profile benefit enormously from a clean cure.
Sources
- EMCDDA – “Cannabis cultivation: practices, risks and environmental factors”, 2022
- Clarke, Robert C.; Merlin, Mark D. – “Cannabis: Evolution and Ethnobotany”, 2013
- Punja, Zamir K. – “Fungal pathogens of medical cannabis and industrial hemp”, 2021
- Caplan, D.; Dixon, M.; Zheng, Y. – “Optimal rate of organic fertilizer during the flowering stage for cannabis grown in two coir-based substrates”, 2017

About the Author – Hannah
Hannah focuses on researching, contextualizing, and observing current developments in plant care and modern cultivation techniques. Her focus lies on new methods, optimizing growth conditions, and making complex topics accessible. Her content complements practical experience with analysis, updates, and a keen eye on emerging trends.
Content is regularly reviewed and updated.
This article was created with AI support and editorially reviewed.
More about the team behind LeafConnect